Table Of Content
Then, glue more popsicle sticks on it to cover the square. As specified in this instructable guide, a sketch plan is useful. The sketch plan (blueprint) will make the building easier and fast. Start by drawing the layout of the house on a piece of paper. This will make it easy for you to get the pattern very well.
Popsicle Stick Gingerbread House Craft
Sugar-Free” which makes me wonder — are the Popsicles called “Colors” or is the brand claiming the color of each popsicle is derived from natural sources? I used to think it was the former, but now that I’ve reacquainted myself with each flavor, I think it’s the latter. Trim about 1″ off the top of two additional popsicle sticks. Hot glue one to the four horizontal popsicle sticks to hold them together. Identifying plants in the garden can be a challenge, especially when you first plant your seeds, but markers can make your life significantly easier. Rather than heading to your garden store to buy them, however, try your hand at making your own with the help of some popsicle sticks.
Outshine Fruit Bars — Cherry, Tangerine, Grape
Good Pop makes watermelon agave popsicles that are the adult version of ice cream truck treats. They’re made with just four ingredients and have only 40 calories a pop. The fun flavor combo might inspire you to learn how to make popsicles at home. Straight up, these are way worse than you remember. This classic trio of popsicle flavors, Orange, Cherry, and Grape, tastes more like freezer-burned ice than they do the fruit flavors they’re supposed to conjure.
Step 3: Build the Side and Back Walls
100 Easy Christmas Crafts for Kids - Prudent Penny Pincher
100 Easy Christmas Crafts for Kids.
Posted: Sat, 04 Nov 2023 07:00:00 GMT [source]
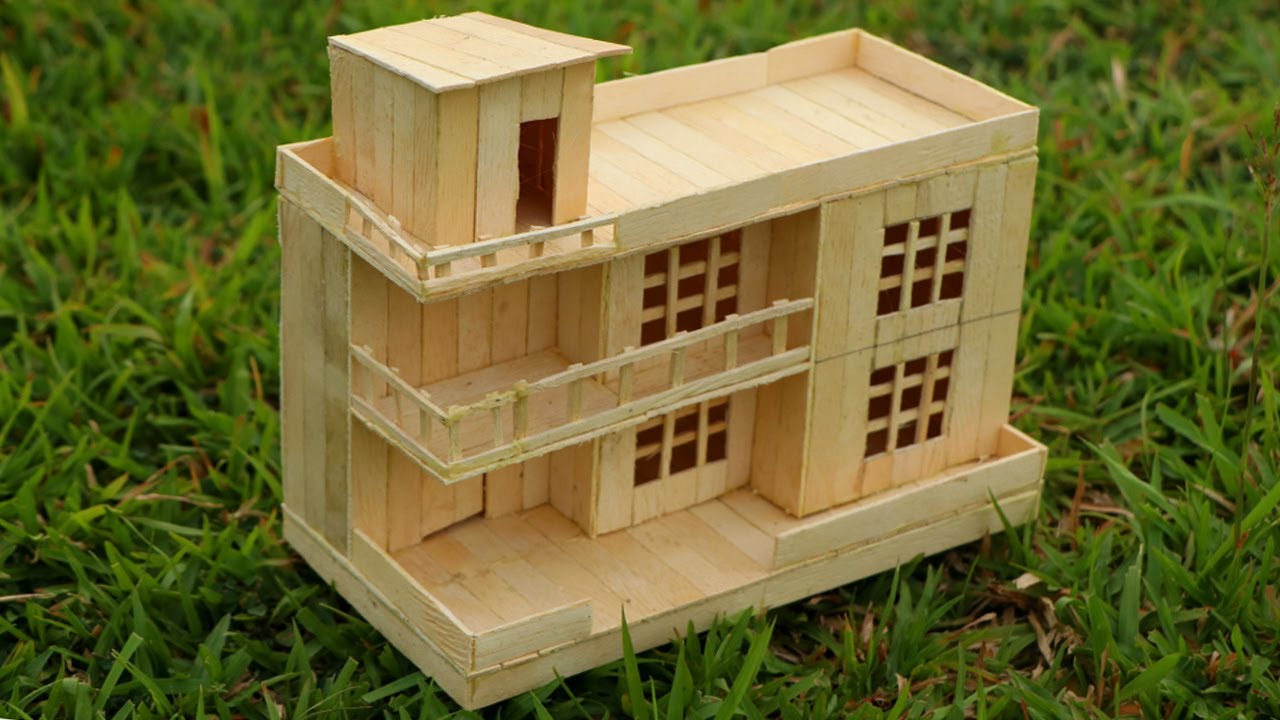
The colored ones will be used for the roof of the house while the colorless ones will be used for the walls. Start by laying out the Popsicle sticks for the front wall. The roof was made using the repeating design where you glue the popsicle sticks together in front of an upside-down ‘V’. The was glue in such a way that the flat side of the popsicle stick is facing down while the thin side is facing sideways to form a box. For our popsicle stick house, we used approximately 250 popsicle sticks and a lot of hot glue.
To paint the beads, I slid a bunch onto a bamboo skewer to make it easier to paint them all at once. If you’re looking to take your crafting skills up a notch, keep reading for how to make this festive craft. My name is Lizzy, and I am an amateur miniaturist obsessed with everything in the dollhouse and miniature world, ever since I was a teenager. Glue these together at the corners and repeat this to build as many squares as you need for your house. Place 2 Popsicle sticks parallel to each other, the same distance apart as the length of one stick.
Popsicle Stick Train Ornaments
When I grew up these featured a Flintstone’s theme — Fred was Orange Sherbet, Dino was Grape (obviously), and Pebbles was Cherry. They were delicious, but Nestle’s version is a far cry from that wondrous frozen treat. Don’t let the flashy names like “Cherry Blast,” “Turbo Grape,” and “Outrageous Orange,” fool you, these things mostly taste like the cardboard they’re housed in, and they’re not even sherbet. Decide what size/shape you want the door to be and cut out a template. If you can’t find little gingerbread people, that’s totally fine! If you want to add some other little people or decorations, feel free!
See the link below for the full instructions on how to make one for yourself. After following the steps shown in the above pic, we stacked a few popsicle sticks and glued them together. Then we cut them into a triangle form which was then attached to the front entrance using hot glue. Let’s learn how to build a house out of popsicle sticks. In this step-by-step popsicle stick house tutorial, you will learn all the basic tricks to make walls, windows, fences, and stairs to build a beautiful little craft house.
Step-by-Step Popsicle Stick Train Tutorial
Now, glue popsicle sticks on the cardboard leaving only the doors and windows holes. Once you have all the parts in this manner, proceed to join them together. This is indeed the Pro approach to building a popsicle stick house. Maria got the idea of this popsicle stick house from Alessa, her friend. However, Maria was able to walk herself through it without any tools, only with 3 bags of popsicle sticks, a hot glue gun, and scissors.

In the material list above, we use a special tool called “specialized wooden ice cream stick scissor”. This is the scissor that we usually use when making models using ice cream sticks and toothpicks. With this scissor, cutting ice cream sticks becomes an easy and effortless process. Plus, the sticks will not break when you cut them.
If there is one thing that this popsicle ranking has revealed to me, it’s that I like to pair alcohol with popsicles. We’re a few entries into this ranking and I’ve said nothing but negative things. I’m not here to trash on all your childhood favorites, though. More to warn you that most of your childhood favorites are trash now. The Fudgsicle Fudge pop might’ve been good at one point, but these aren’t what they used to be.
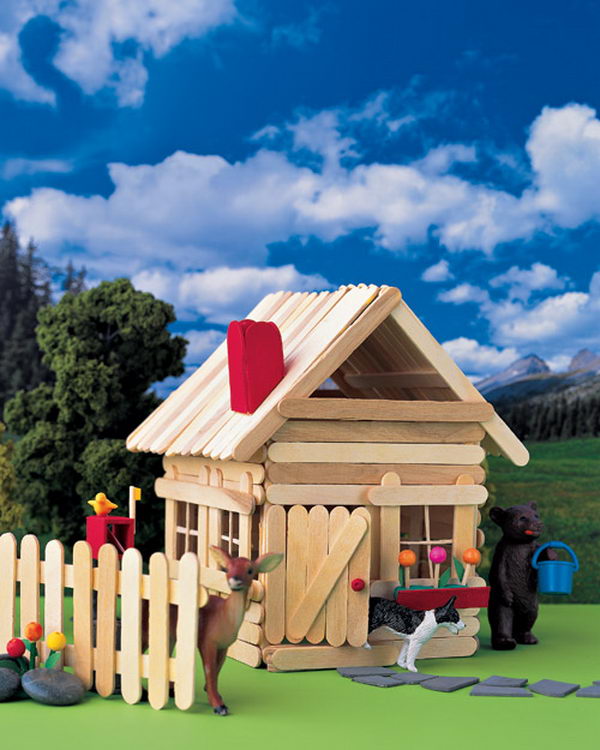
To help fix the issue and create a more maneuverable tool, consider making sanding sticks. All you need to do is wrap a piece of sandpaper around a popsicle stick, then secure it with a rubber band or glue. The end result is similar to a nail file but with customizable grit, so you always have access to the correct roughness. If you use multiple different kinds of sandpaper, you can also easily differentiate them by labeling the end of the popsicle stick with the grit. Encourage the kids to invent stories or scenarios involving the popsicle stick house.


No comments:
Post a Comment